
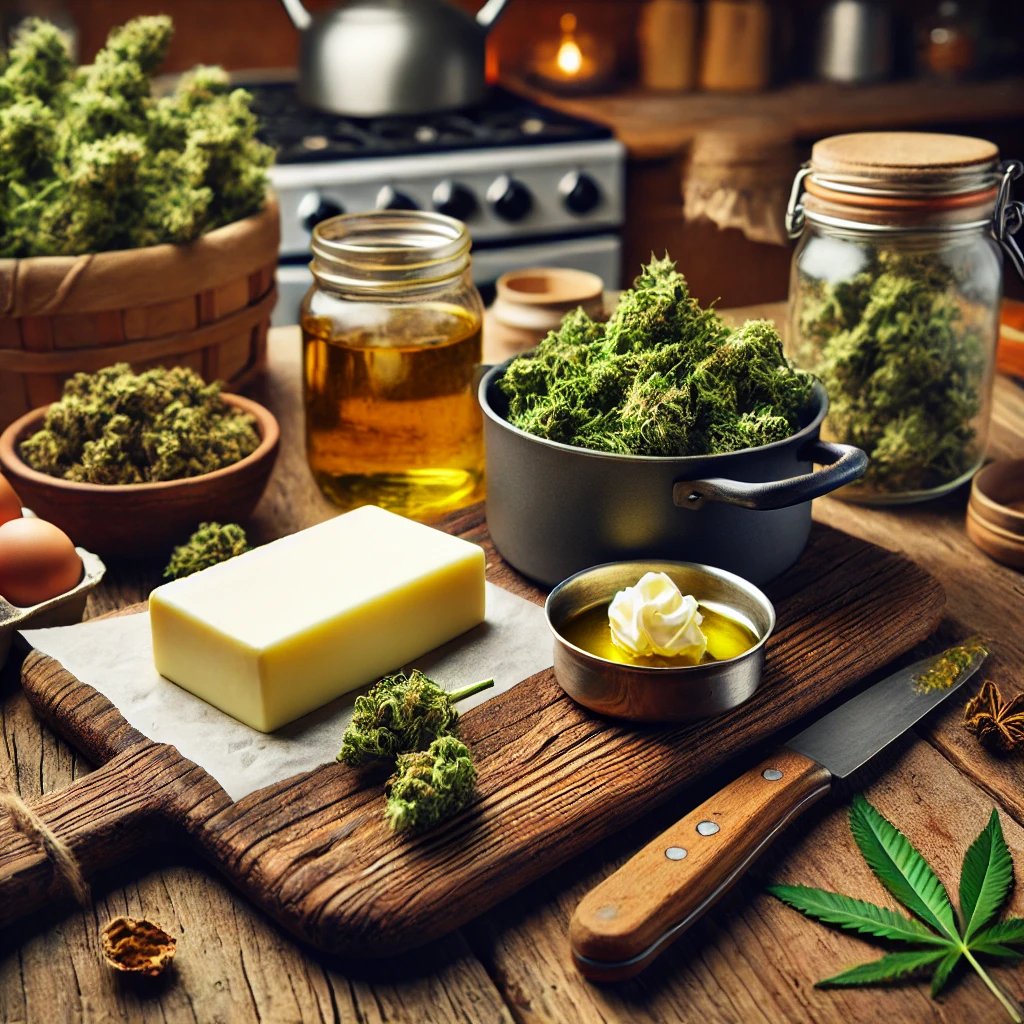
Cannabutter is a versatile ingredient used to make a variety of cannabis-infused edibles. Whether you’re baking brownies or simply spreading it on toast, cannabutter provides a discreet and enjoyable way to consume cannabis. The best part? You can easily make it at home with just a few ingredients and some patience. Here’s a detailed guide to help you get started.
1. Introduction
What is Cannabutter?
Cannabutter is butter infused with cannabis, commonly used to make edibles. Whether you’re making cookies, brownies, or savory dishes, cannabutter allows you to enjoy cannabis in various culinary creations. It’s a popular choice for those who prefer consuming cannabis through food rather than smoking or vaping.
Why Make Your Own?
Making your own cannabutter gives you control over the potency, quality, and ingredients. You can tailor the recipe to your preferences and ensure you’re using the best cannabis and butter available. Store-bought edibles can be inconsistent in potency, and making cannabutter at home lets you fine-tune the dosage for a more personalized experience.
Key Takeaways:
- Making cannabutter is an easy and customizable process.
- You only need a few basic ingredients and tools, most of which are probably already in your kitchen.
- Follow this guide to create your own cannabutter that suits your taste and potency preferences.
2. Ingredients and Equipment You Will Need
Ingredients:
- Cannabis flower – Potency and quality of the cannabis will affect the final product. Adjust the amount based on desired strength.
- Unsalted butter – High-quality butter, such as Kerrygold, is recommended for better flavor and texture.
- Water – Helps regulate temperature and improves the flavor by reducing the plant taste.
Equipment:
- Baking sheet – Used for decarboxylating the cannabis.
- Parchment paper – To prevent sticking during the decarboxylation process.
- Cheesecloth – For straining the plant matter from the butter.
- Thermometer (optional) – Helps monitor the temperature to ensure you don’t overheat the butter.
- Slow cooker or stovetop pot – Used to gently simmer the cannabis with the butter.
- Airtight container – For storing your cannabutter once it’s finished.
- Grinder (optional) – For breaking down the cannabis before adding it to the butter.
3. Step-by-Step Guide to Making Cannabutter
Step 1: Decarboxylation
What is Decarboxylation?
Decarboxylation is the process of heating cannabis to activate its THC. This step is crucial for unlocking the psychoactive effects of the cannabis when used in edibles.
Process:
- Preheat your oven to 220-245°F.
- Break up the cannabis into small, uniform pieces.
- Spread the cannabis evenly on a baking sheet lined with parchment paper.
- Bake for 30-40 minutes, stirring occasionally.
- Adjust time depending on the age and quality of the cannabis (longer for fresher cannabis, shorter for older).
- The cannabis will turn from green to a light brown, indicating it’s ready.
Why It’s Essential:
Skipping the decarboxylation step will result in cannabutter that lacks the desired effects, as the THC remains inactive.
Step 2: Grinding the Cannabis (Optional)
After decarboxylating, you can grind the cannabis to increase its surface area for better infusion. However, avoid grinding too finely, as this can lead to excess plant material in the final product, affecting the texture and taste.
Step 3: Melting the Butter
In a slow cooker or on the stovetop, melt the butter over low heat. Add an equal amount of water to help prevent the butter from burning and to maintain an even temperature during the infusion process.
Step 4: Adding the Cannabis
Once the butter has melted, add the ground cannabis. Stir the mixture thoroughly to ensure the cannabis is evenly distributed.
Step 5: Simmering the Mixture
Let the mixture simmer on low heat (160-200°F) for 2-3 hours. Stir occasionally to prevent the butter from burning. It’s important to monitor the temperature to avoid exceeding 200°F, as high temperatures can degrade the cannabinoids.
Step 6: Straining the Mixture
Line a strainer with cheesecloth over a large bowl. Carefully pour the cannabutter mixture through the cheesecloth to filter out the plant matter. Allow the liquid to drain naturally—avoid squeezing the cheesecloth, as this can release excess chlorophyll, which can give the butter an undesirable taste.
Step 7: Cooling and Separating
Refrigerate the strained liquid overnight. As the mixture cools, the butter will solidify and separate from the water. Once solidified, remove the butter and discard the remaining water.
Step 8: Storage and Usage
Store the cannabutter in an airtight container. It will keep in the refrigerator for up to 2 months or in the freezer for up to 6 months. Always label your cannabutter to avoid confusion with regular butter, and be sure to store it in a safe place away from children and pets.
4. Dosage and Potency: How to Get It Right
Standard Dosing Ratios:
A common ratio is 1 oz of cannabis to 1 lb of butter. For those using cannabis trim, a ratio of 3 oz of trim to 1 lb of butter is standard. Keep in mind that these measurements can be adjusted depending on the desired potency.
Tips for Calculating Potency:
The potency of your cannabutter depends on the THC content of your cannabis, the amount used, and individual tolerance levels. Start with a small amount (¼ to ½ tsp) of cannabutter and test the effects after 30-90 minutes. This will give you a baseline for how potent your batch is.
How to Adjust Potency:
If the cannabutter is too strong, mix it with regular butter for a more manageable dose. Conversely, you can increase the cannabis-to-butter ratio to make a stronger batch if desired.
5. Tips for the Best Results
Use High-Quality Ingredients:
The quality of the butter and cannabis will greatly affect the final product. Opt for high-quality butter and fresh cannabis to produce the best flavor and potency.
Low and Slow Cooking:
Longer cooking times at lower temperatures help preserve the cannabinoids, resulting in a more potent and smooth-tasting cannabutter.
Straining Carefully:
Proper straining is key to removing excess plant material. This step helps reduce bitterness and improves the overall texture of the cannabutter.
Storing Safely:
Make sure your cannabutter is completely cooled before sealing it in an airtight container. This will help prevent condensation, which can lead to mold growth.
By following these steps, you can make your own high-quality cannabutter at home, tailored to your taste and potency preferences. Be sure to use responsibly, store safely, and enjoy your cannabis-infused creations in a variety of delicious ways!
